When tenants move out, landlords must ensure that the property is in good shape for the next occupants. It’s not just about cleanliness—it’s about protecting the investment and setting expectations for both parties. A well-structured cleaning checklist can help landlords achieve this efficiently.
From cleaning appliances to vacuuming carpets, there are a lot of tasks to check off. Often, personal belongings need to be removed, and stubborn spots like shower doors need extra attention. This checklist is a guide for landlords to ensure the property meets lease agreement standards.
Plus, having a comprehensive cleaning checklist ensures nothing gets overlooked. It streamlines the move-out inspection and avoids future disputes. With a solid approach, the move-out process becomes manageable, saving time and preventing headaches. Let’s break down everything landlords need to inspect and clean before welcoming the next tenant.
1. Start With the Living Areas

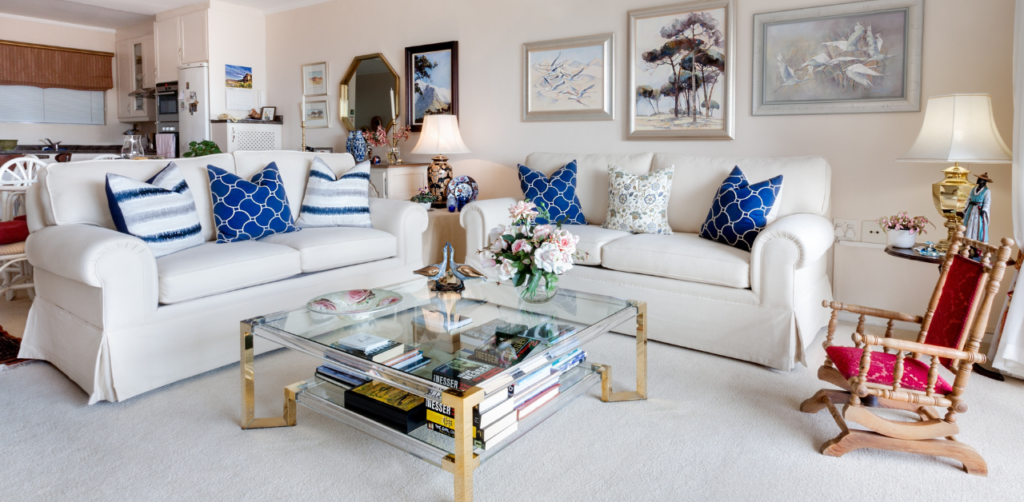
The living room and common areas are high-traffic zones and often show the most wear and tear. Here’s what you need to address:
- Dust all surfaces: Wipe down shelves, crown molding, light fixtures, picture frames, baseboards, and furniture to remove dust and cobwebs.
- Walls and light switches: Remove fingerprints and smudges from walls, paying attention to high-contact areas like light switches. A gentle cleaning solution can help without damaging the paint.
- Ceiling fans and vents: Use a microfiber cloth to clean ceiling fans and HVAC vents. Dust tends to collect here, so take time to deep clean.
- Windows and mirrors: Wash windows and polish mirrors to remove streaks. Clean both sides of windows and wipe down window sills.
- Hard floors and carpets: Vacuum carpets thoroughly. If necessary, consider steam cleaning for a fresher appearance. For hardwood floors, sweep, vacuum, and use a cleaner specific to wood surfaces. Be sure to mop hard floors and remove any leftover dirt.
- Small tasks that matter: Pay attention to cleaning smaller details like door handles and door frames. These little touches help create a good impression for the next tenant.
2. Tidy Up the Bedrooms
The bedrooms are essential for tenant satisfaction, and they deserve a thorough cleaning:
- Closets and storage areas: Remove cobwebs, vacuum carpets, and wipe down all shelves. If the tenant has left behind personal belongings, clear them out and check for any maintenance issues.
- Walls and baseboards: Clean any marks on the walls and wipe down the baseboards. Check for damage or nail holes from previous tenants and make repairs if necessary.
- Light fixtures and switches: Dust and clean light fixtures. Make sure light switches are spotless and operational.
- Windows: As with the living areas, wash windows and polish mirrors. This task leaves a lasting impression and brightens up the space.
3. Focus on the Kitchen

Kitchens are often the most challenging area to clean due to the buildup of grease and grime. Here’s your cleaning checklist:
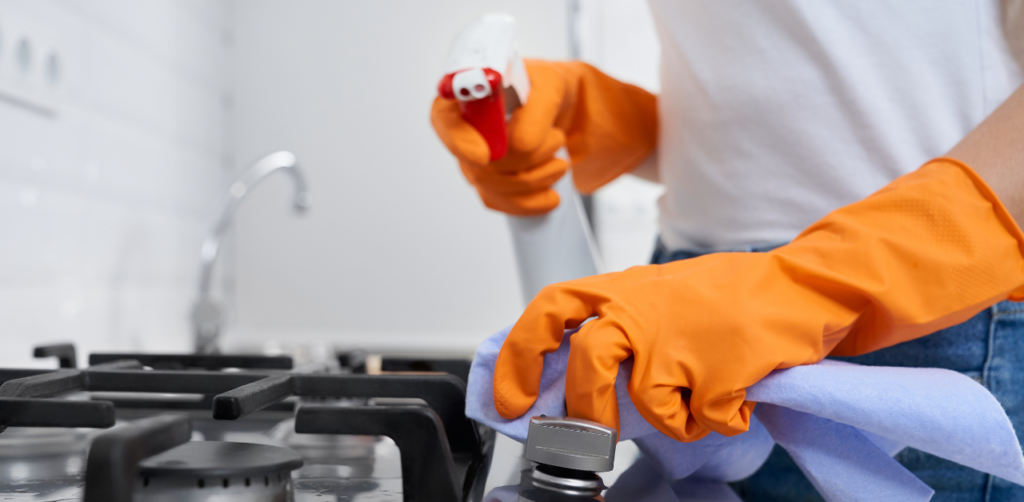
- Clean appliances: Deep clean the oven, stovetop, and microwave, removing all food residue and grease. Scrub the inside of the refrigerator, remove unnecessary items, and ensure the freezer is free of frost.
- Countertops and cabinets: Scrub countertops and polish fixtures. Wipe down cabinets, removing any crumbs or dirt from inside. Make sure to clean handles and remove fingerprints.
- Kitchen floors: Sweep, vacuum, and mop the floors. Kitchens can harbor a lot of hidden dirt, so give the floors a second pass if needed.
- Sink and fixtures: Polish the sink, removing soap scum and hard water stains. Make sure the garbage disposal is clean and fresh, and check under the sink for leaks or maintenance issues.
- Backsplash and walls: Wipe down walls and backsplash areas, removing any grease. Pay special attention to areas around the stove, as they often have built-up grime.
4. Don’t Overlook the Bathrooms
Bathrooms must be spotless for hygiene reasons and to give new tenants peace of mind:
- Toilet: Scrub the inside and outside of the toilet bowl, and clean the seat and base thoroughly. Don’t forget to wipe down the toilet handle and surrounding area.
- Sink and vanity: Remove soap scum, polish mirrors, and wipe down countertops. Clean the cabinets, including the inside, and remove any leftover personal items from previous tenants.
- Shower doors and tub: Remove soap scum from shower doors and scrub the bathtub. Be sure to check for mold or mildew, especially around grout lines.
- Fixtures and hardware: Polish faucets and ensure all fixtures are free of water spots. This step helps keep everything shiny and fresh.
- Floor and grout: Vacuum and mop the bathroom floor, paying attention to grout lines. If the grout is discolored, consider deep cleaning it.
- Smaller tasks: Wipe down towel racks, clean mirrors, and make sure all light fixtures are dust-free.
5. Clean and Organize the Laundry Rooms

If your rental property has a dedicated laundry room, don’t overlook it:
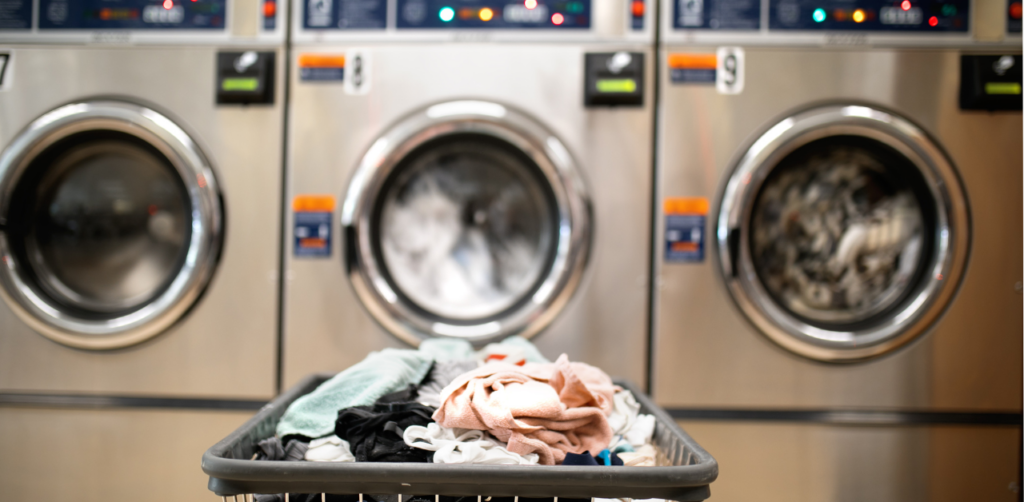
- Wipe down appliances: Clean the washing machine and dryer, removing lint from the dryer filter. Wipe down the outside and check for any damage or leaks.
- Shelving and storage: Dust shelves and organize any remaining cleaning supplies. Make sure to remove any forgotten items.
- Floors: Sweep and mop the floors, making sure no dust or lint remains.
6. Check Outdoor Areas and Entryways
Curb appeal matters. Here’s what to cover outdoors:
- Entryways and patios: Sweep porches, remove cobwebs, and wipe down outdoor light fixtures. Make sure the front door looks welcoming.
- Garage and storage areas: Clean out any debris or unnecessary items and sweep the floors. Ensure that everything left behind by previous tenants is removed.
- Yard and landscaping: If your property has a yard, mow the lawn and trim any overgrown bushes. Keep the mailbox clean, and make sure the property is free of trash.
7. Final Touches
Before wrapping up, ensure everything is in tip-top shape:
- Inspect all rooms: Walk through each room to ensure all cleaning tasks are completed and the property is spotless.
- Test appliances and fixtures: Make sure appliances are working and light fixtures have fresh bulbs.
- Key areas checklist: Go over the entire checklist one more time, ensuring all high-traffic zones, storage areas, and hard surfaces have been cleaned.
8. Consider Hiring a Professional Cleaning Service
For some landlords, hiring a professional cleaning service is worth the investment. They can do a thorough job, especially for properties that require deep cleaning. This step might be necessary if the property has a lot of wear and tear.
9. Prepare for the Move Out Inspection
Once the cleaning is complete, also prepare a move-out cleaning checklist and schedule a final move-out inspection. This step helps ensure you’re ready to hand over the property in perfect condition and can help you avoid disputes over the security deposit. Be sure to document the property’s condition before the new tenants arrive.
Ensuring Longevity and Appeal with Expert Property Care
Maintaining a clean rental property isn’t just about appearances. It’s about creating a welcoming environment for your next tenants and protecting your investment. By following the landlord’s cleaning checklist, you can ensure your property remains in top shape and make the move-out process smoother for everyone.
If you’re a landlord in the Las Vegas area and need help with property management or professional cleaning services, Faranesh Real Estate and Property Management can simplify your experience. Contact us today to learn how we can keep your property clean and tenant-ready.


